


Chimney Flashing in Minnesota: Why It Leaks and How to Fix It
 10min Read
 Posted 3.27.2026
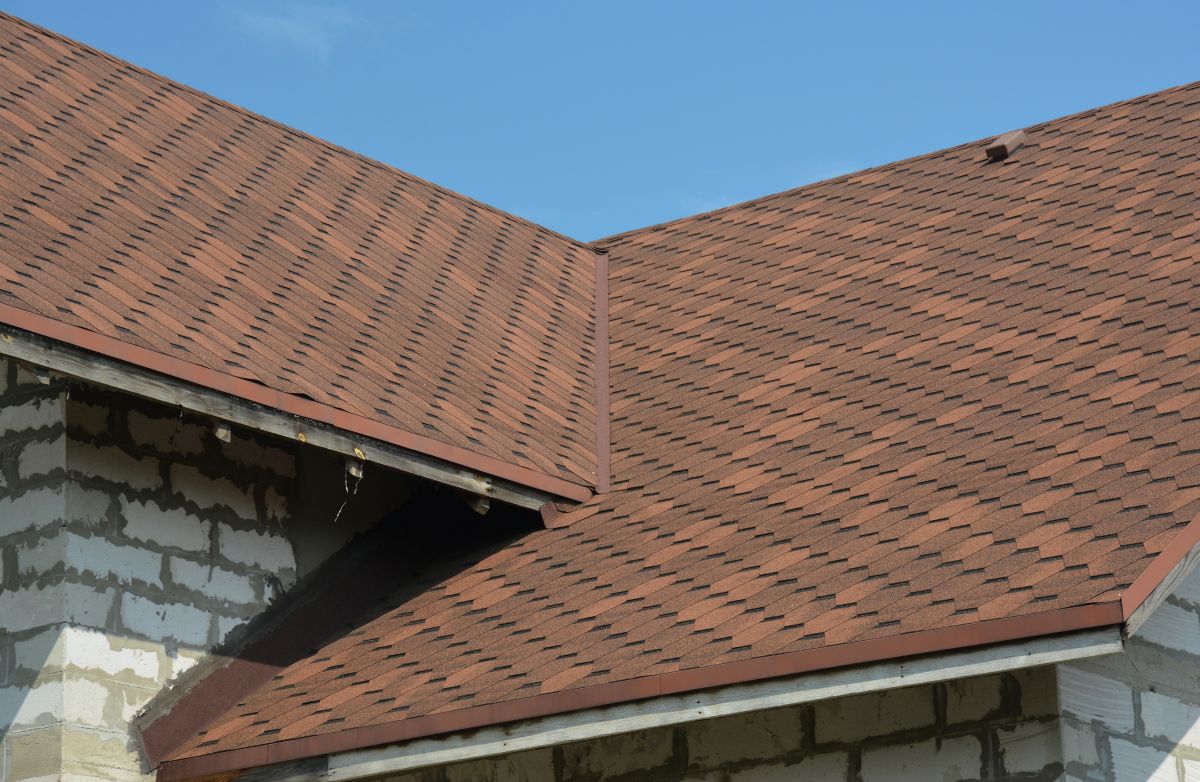
Of all the roof penetrations on a Minnesota home, the chimney is the hardest to flash, the most prone to leaks, and the one most commonly done wrong at new-roof installation. A chimney creates a vertical break in a sloped roof plane, with water running down the roof on the up-slope side (where snow loads and ice can also accumulate) and wrapping around the sides. If any of the four flashing components fail — step flashing, counter-flashing, apron flashing, or chimney cricket — water finds its way into the structure, often showing up as a ceiling stain or wall leak months after the flashing actually failed. In Minnesota’s freeze-thaw climate, chimney flashing failures are accelerated: water expands 9% when it freezes, and a single crack in a seal becomes a progressively worse leak over two or three winters.
- Proper chimney flashing uses four components working together: step flashing, counter-flashing, apron, and (if wide) cricket.
- Chimneys wider than 30 inches across the slope require a cricket (IRC R903.2).
- Never rely on caulk alone — proper flashing uses mechanically integrated metal plus sealant.
- Counter-flashing must be let into masonry joints (kerfed and locked in), not surface-mounted.
- Typical Twin Cities chimney reflash cost: $600-$2,500 depending on chimney size, masonry condition, and cricket requirements.
The Four Components of Proper Chimney Flashing
Chimney flashing is not a single piece of metal — it’s a system of four interlocking components, each serving a distinct waterproofing role. Miss any one and the system leaks.
| Component | Location | Function |
|---|---|---|
| Apron flashing | Down-slope side of chimney | Directs water running down the roof around the chimney base |
| Step flashing | Sides of chimney (up the slope) | Individual L-shaped pieces interlocked with each shingle course |
| Cricket / saddle | Up-slope side of chimney (wider than 30″) | Diverts water around the chimney instead of letting it pond against the back wall |
| Counter-flashing | Over the step and apron flashings, embedded in masonry | Seals the top edge of the under-flashing into the chimney masonry |
Step Flashing: Why It’s Critical
Step flashing is a series of L-shaped metal pieces (typically 5″x7″ rectangles bent along the long axis) that sit under each shingle course up the sloped sides of the chimney. One leg of the L lies flat on the roof deck under the shingle; the other leg rises up against the chimney wall. Each step piece overlaps the one below by 2 inches. The result is a continuous woven waterproof barrier on the sides of the chimney that moves water down-slope, never inward. Critically, step flashing is per-shingle-course, not a single long piece of metal — using a long strip (sometimes called “continuous L-flashing”) at the chimney sides is a common defect that allows water to infiltrate under the shingles at any point along the chimney edge.
Counter-Flashing: The Detail Most Contractors Skip
Counter-flashing covers the top edge of the step and apron flashings. In a proper installation, the top edge of the counter-flashing is embedded (or “let in”) into a sawn groove in the masonry mortar joint, bent down, and then sealed with a high-quality polyurethane or tripolymer sealant. This mechanical integration prevents wind-driven rain and ice-melt from getting behind the flashing at the masonry line.
The common shortcut — visible on many Minnesota roofs — is surface-mounted counter-flashing with a bead of caulk along the top. Caulk-only flashings have a useful life of 3-7 years in Minnesota’s freeze-thaw cycles; kerfed and sealed counter-flashings last 20-40 years. The upgrade is modest in cost but extremely important in longevity.
The Chimney Cricket: Required Above 30 Inches
Per IRC R1003.20, any chimney wider than 30 inches across the slope requires a cricket (also called a saddle) — a small pitched structure on the up-slope side that diverts water around the chimney. Without a cricket, the up-slope back wall of the chimney becomes a dam, where debris accumulates, snow ponds, ice forms, and water eventually backs up under the shingles. Minnesota homes with 36″+ brick chimneys and no cricket frequently have chronic leak issues that can only be solved by adding one.
Crickets are typically framed from 2×4 lumber covered with 1/2″ OSB or plywood, then waterproofed with ice-and-water shield, flashed to the chimney with step flashing and counter-flashing, and shingled over. A cricket add on an existing chimney typically runs $400-$1,200 depending on chimney size and shingle continuity requirements.
Symptoms of Failed Chimney Flashing
- Water stains on the ceiling near the chimney, particularly on the up-slope side of the interior.
- Dark streaks or efflorescence (white mineral deposits) on the exterior chimney brick or interior fireplace surround.
- Peeling paint or plaster on walls adjacent to the chimney chase.
- Musty odor or visible mold on attic sheathing near the chimney.
- Visible cracks in the caulking line where counter-flashing meets the masonry.
- Rusted or missing flashing metal visible from ground-level inspection with binoculars.
- Debris accumulation on the up-slope side of the chimney (no cricket present).
- Icicles forming specifically along the chimney edge in winter.
Material Choices for Chimney Flashing
| Material | Typical Lifespan in MN | Cost Relative to Steel | Notes |
|---|---|---|---|
| Aluminum (paint-grip) | 25-40 years | 1x (baseline) | Common residential choice; cannot contact acidic mortars without coating |
| Galvanized steel | 15-25 years | 0.8x | Budget option; rusts if coating is damaged |
| Copper | 50-100+ years | 3-5x | Premium; develops patina; best with copper-compatible sealants |
| Stainless steel | 50+ years | 2-3x | Excellent in MN freeze-thaw; rarely residential |
| Lead or lead-coated copper | 50+ years | 3-4x | Historic / high-end; declining due to environmental regulations |
For most Minnesota residential work, paint-grip aluminum is the workhorse choice — durable, affordable, and color-matchable. Copper is standard on historic and high-end projects. Galvanized steel is acceptable but rusts more quickly than aluminum in the long term, particularly in the freeze-thaw and road-salt exposure of Twin Cities winters.
Chimney Masonry Condition Matters
Great flashing on a deteriorating chimney is a short-term fix. If the chimney masonry — brick, stone, or block — has spalled brick faces, cracked mortar joints, or missing cap, water enters the chimney body itself and flows downward through the masonry, around the flashing. Common masonry issues to evaluate before a flashing repair:
- Cap condition. A concrete or stone chimney cap (the horizontal top surface) sheds water off the top of the chimney. Cracks or missing cap allow water directly into the masonry.
- Mortar joint condition. Tuck-pointing (replacing degraded mortar) may be needed before reflash.
- Brick face condition. Spalled brick faces (where freeze-thaw has caused chunks of brick to pop off) indicate deep saturation — flashing won’t solve this.
- Chimney cap flashing. Separate from roof flashing — seals the concrete cap to the brick below.
- Crown condition. The sloped mortar top covering the top course of brick. Commonly cracked; needs repair before flashing.
Typical Chimney Reflash Costs in the Twin Cities
| Scope | Typical Cost | Notes |
|---|---|---|
| Caulk-only seal (stopgap) | $150 – $400 | Temporary; expect 1-3 year life |
| Surface counter-flashing replacement (no masonry work) | $400 – $900 | Mid-grade; extends life but still relies on caulk |
| Kerfed-and-sealed counter-flashing reflash (proper) | $800 – $1,800 | Best long-term approach; industry standard |
| Full reflash with new step flashing + counter-flashing | $1,000 – $2,500 | Full system; done during reroof ideally |
| Add cricket (where required by width) | $400 – $1,200 added | Required if chimney > 30″ wide across slope |
| Masonry repair (tuck-point, crown repair) | $200 – $1,500+ | Separate mason trade; may require scaffolding |
Chimney Flashing at Roof Replacement
When a roof is replaced, the chimney flashing should always be evaluated and — in most cases — fully replaced. Reusing old step and apron flashing is a common cost-cutting shortcut that leads to leaks within a few years of the new roof. Reputable Minnesota roofers itemize flashing replacement as a distinct line item and include fresh ice-and-water shield around the chimney base. If your insurance-claim scope excludes flashing replacement, ask your roofer to supplement — worn flashing at reroof is a code and best-practice requirement.
If the masonry needs repair as well, sequence the work carefully: masonry first (tuck-pointing, crown rebuild, cap repair), then flashing, then shingles. Chimney work is one of the few areas where reroof-and-repair has a required order — masons can’t safely work on a fresh shingle surface, and roofers can’t flash into failing mortar.
Chimney Flashing and Insurance Claims
Chimney flashing damaged by a storm event (hail, wind-lifted shingles exposing flashing, falling trees) is generally covered under standard Minnesota HO-3 policies. Chronic failure from age-related wear is not — it’s categorized as maintenance. After a storm claim, ask your roofer to document flashing condition with photos and itemize flashing replacement specifically. For guidance on navigating insurance claims, see our Minnesota hail claim walkthrough.
Frequently Asked Questions
Why does my chimney leak during rain but not during snow?
Different water sources. Heavy rain exposes flashing failures directly — water runs down the chimney and finds gaps. Snow, particularly dry powder, tends not to melt and flow at flashings. However, as winter progresses and meltwater backs up against the up-slope side of a cricket-less chimney, snow-related leaks often appear in late winter.
Can I just caulk the flashing myself?
A temporary caulk seal can delay a leak for a season, but it’s not a repair. Caulk fails in 3-7 MN freeze-thaw cycles. Proper flashing requires mechanical integration — kerfed counter-flashing, woven step flashing, and appropriate cricket design.
Does my chimney need a cricket?
Per IRC code, chimneys wider than 30 inches across the slope require a cricket. Even below 30″, a cricket is good practice on low-slope roofs or where debris accumulation is visible on the up-slope side.
What’s the difference between step flashing and counter-flashing?
Step flashing sits under the shingles and against the chimney wall, handling water on the roof surface. Counter-flashing is installed over the top of step flashing, embedded in the masonry, preventing water from getting behind the step flashing at the masonry line. Both are required.
Should chimney flashing always be replaced during a reroof?
In most cases, yes. Reusing worn flashing is a common cost-cutting defect that leads to leaks within 2-5 years. Proper practice is to remove all chimney flashing at reroof, inspect masonry, and install fresh step, apron, counter-flashing, and (if required) cricket.
How much does chimney reflashing cost in Minnesota?
Typical ranges: $400-$900 for surface counter-flashing replacement, $800-$1,800 for proper kerfed reflash, $1,000-$2,500 for full step and counter-flashing replacement. Cricket addition adds $400-$1,200. Masonry repair is separate and can add $200-$1,500+.
Can chimney flashing problems damage my house beyond the chimney area?
Yes. Water entering through chimney flashing failures can travel along rafters and into walls, damaging insulation, drywall, framing, and hardwood floors many feet from the chimney itself. Early detection and repair prevent what starts as a stain from becoming a structural issue.
