Roof Installation Guide: Process, Materials & Timeline
 8min Read
 Posted 3.20.2026
A professional roof installation is one of the most important investments homeowners make to protect their property and improve long term durability. Understanding the installation process, the materials involved, and the expected timeline can help homeowners feel confident when planning a roof replacement project.
A new roof does more than improve curb appeal. It protects the home from weather, improves energy efficiency, and helps prevent structural damage caused by water intrusion.
Homeowners researching roof installation often want to understand:
- Installation process: What happens during each stage of a roof replacement project.
- Material options: Which roofing materials are commonly used for residential homes.
- Project timeline: How long a typical roof installation takes from start to finish.

What to Expect During a Roof Installation
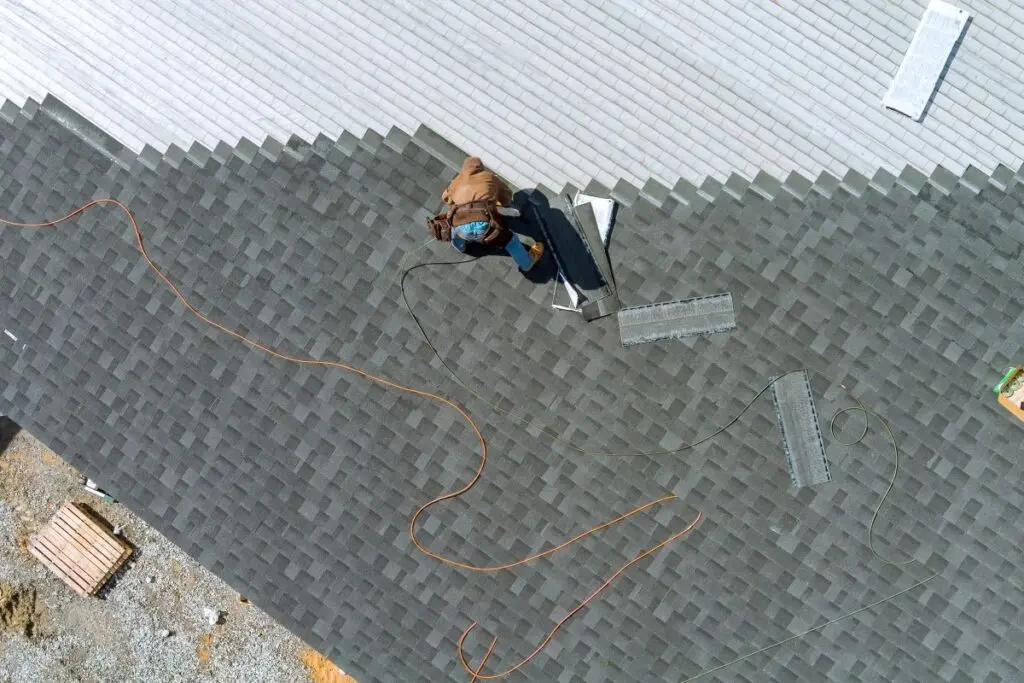
A roof installation involves several important steps that ensure the roofing system protects the home properly. Professional contractors follow a structured process designed to remove old materials, inspect the roof deck, and install new roofing components.
Homeowners in North Oaks and surrounding areas often schedule roof replacements during the spring, summer, or early fall when weather conditions allow roofing crews to work safely and efficiently.
Understanding the steps involved helps homeowners know what to expect before work begins.
Initial Roof Inspection and Planning
Before any installation begins, a roofing contractor performs a detailed inspection of the existing roof. This inspection helps identify structural concerns, damaged decking, and ventilation issues that need to be addressed during the project.
A clear project plan ensures the installation moves forward smoothly once materials arrive and the work begins.
- Roof condition assessment: Contractors evaluate the current roof and identify problem areas.
- Material selection: Homeowners choose shingle types, colors, and additional roofing components.
- Project scheduling: Installation dates are scheduled based on weather and contractor availability.
Removing the Old Roofing Materials
Once the project begins, the roofing crew removes the existing shingles and other roofing components. This step exposes the roof deck so contractors can evaluate the structural condition of the roof.
Homeowners in North Oaks and surrounding areas often find that removing old materials reveals hidden damage that may need repair before new shingles are installed.
- Shingle removal: Existing shingles and underlayment are removed from the roof surface.
- Debris protection: Tarps and protective barriers help protect landscaping and property.
- Waste removal: Old roofing materials are collected and disposed of properly.
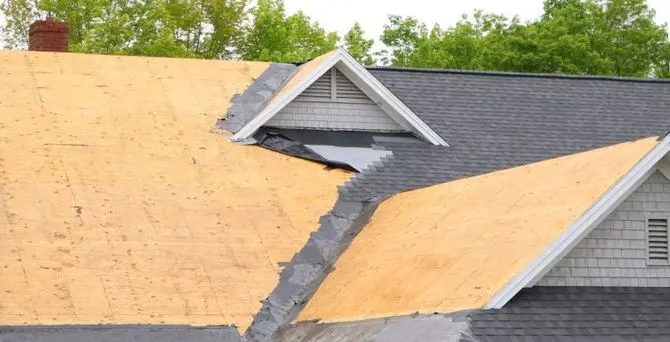
Preparing the Roof Deck
After the old roofing materials are removed, the roof deck must be inspected and prepared for the new roofing system. Any damaged sections of decking are repaired or replaced to ensure a solid foundation for the new roof.
Proper preparation is critical for the long term performance of the roofing system.
- Deck inspection: Contractors check for rotted or damaged wood panels.
- Deck repairs: Damaged decking sections are replaced to strengthen the roof structure.
- Surface preparation: The roof surface is cleaned and prepared for new materials.
6 Key Steps in a Professional Roof Installation
While each roofing project is slightly different, most roof installations follow a similar sequence of steps to ensure proper performance and weather protection.
- Install Underlayment: Roofing underlayment is placed across the roof deck to create a protective moisture barrier. This layer provides an additional defense against water infiltration beneath the shingles.
- Apply Ice and Water Protection: In colder climates, ice and water shield is installed in vulnerable areas such as roof edges, valleys, and around roof penetrations. Homeowners in North Oaks and surrounding areas benefit from this added protection during winter freeze thaw cycles.
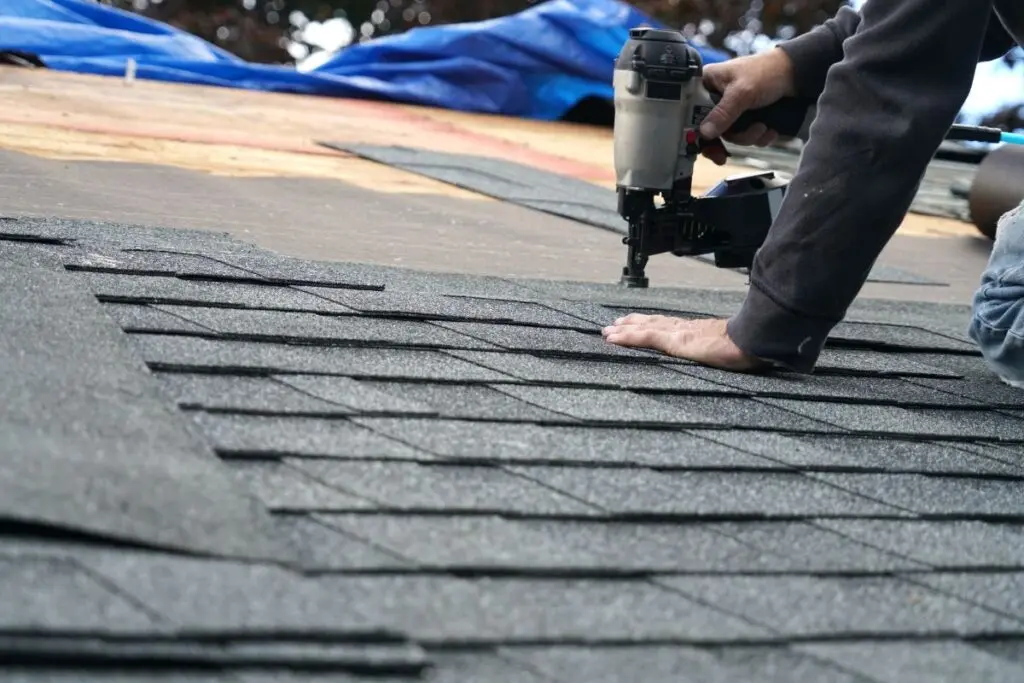
- Install Starter Shingles: Starter shingles are installed along roof edges to create a secure base layer that helps prevent wind uplift and improves water drainage.
- Lay the Main Shingles: The primary roofing shingles are installed in overlapping rows to create a durable protective barrier across the roof.
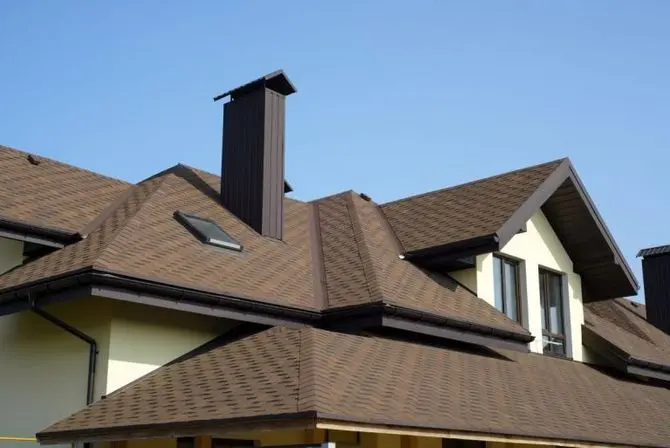
- Install Flashing and Ridge Components: Flashing is installed around chimneys, vents, and valleys to prevent water intrusion. Ridge caps are placed along the roof peak to complete the roofing system.
- Final Inspection and Cleanup: Once the installation is complete, the roofing crew inspects the finished roof and removes debris to ensure the property is left clean and safe.
Common Roofing Materials Used in Roof Installations
Choosing the right roofing material is an important part of the installation process. Different materials offer varying levels of durability, appearance, and cost.
Homeowners in North Oaks and surrounding areas often select materials that perform well in Minnesota’s climate while still matching their home’s exterior style.
Asphalt Shingles
Asphalt shingles remain the most common roofing material used in residential roof installations. They offer a balance of affordability, durability, and aesthetic flexibility.
- Cost effective material: Asphalt shingles are typically more affordable than other roofing options.
- Wide color selection: Homeowners can choose from many colors and styles.
- Reliable durability: Quality shingles can last decades with proper installation.
Architectural Shingles
Architectural shingles are a thicker and more durable version of traditional asphalt shingles. They provide a dimensional appearance that enhances curb appeal.
- Improved durability: Multiple layers provide better weather resistance.
- Enhanced appearance: Textured design creates visual depth on the roof.
- Longer lifespan: Architectural shingles often last longer than basic shingles.
Impact Resistant Shingles
Impact resistant shingles are designed to handle hail and debris impacts more effectively than standard shingles.
- Storm resistance: Reinforced materials help prevent hail damage.
- Insurance benefits: Some homeowners qualify for insurance discounts.
- Strong durability: These shingles perform well in severe weather conditions.
Typical Roof Installation Timeline
The timeline for a roof installation can vary depending on roof size, weather conditions, and material selection. However, most residential roof replacements follow a fairly predictable schedule.
One Day Installations
Many asphalt shingle roofs can be installed within a single day if the home has a standard roof size and simple design.
- Efficient crew coordination: Professional roofing teams work in organized stages.
- Standard roof layouts: Simpler roof structures allow faster installation.
- Weather cooperation: Dry weather helps crews complete projects quickly.
Multi Day Roofing Projects
Larger or more complex roofs may require additional time to complete. Steeper roofs, multiple valleys, and structural repairs can extend the timeline.
- Complex roof structures: Multiple angles or dormers require additional labor.
- Deck repairs: Structural repairs can add time to the project.
- Weather delays: Rain or storms may temporarily pause installation work.
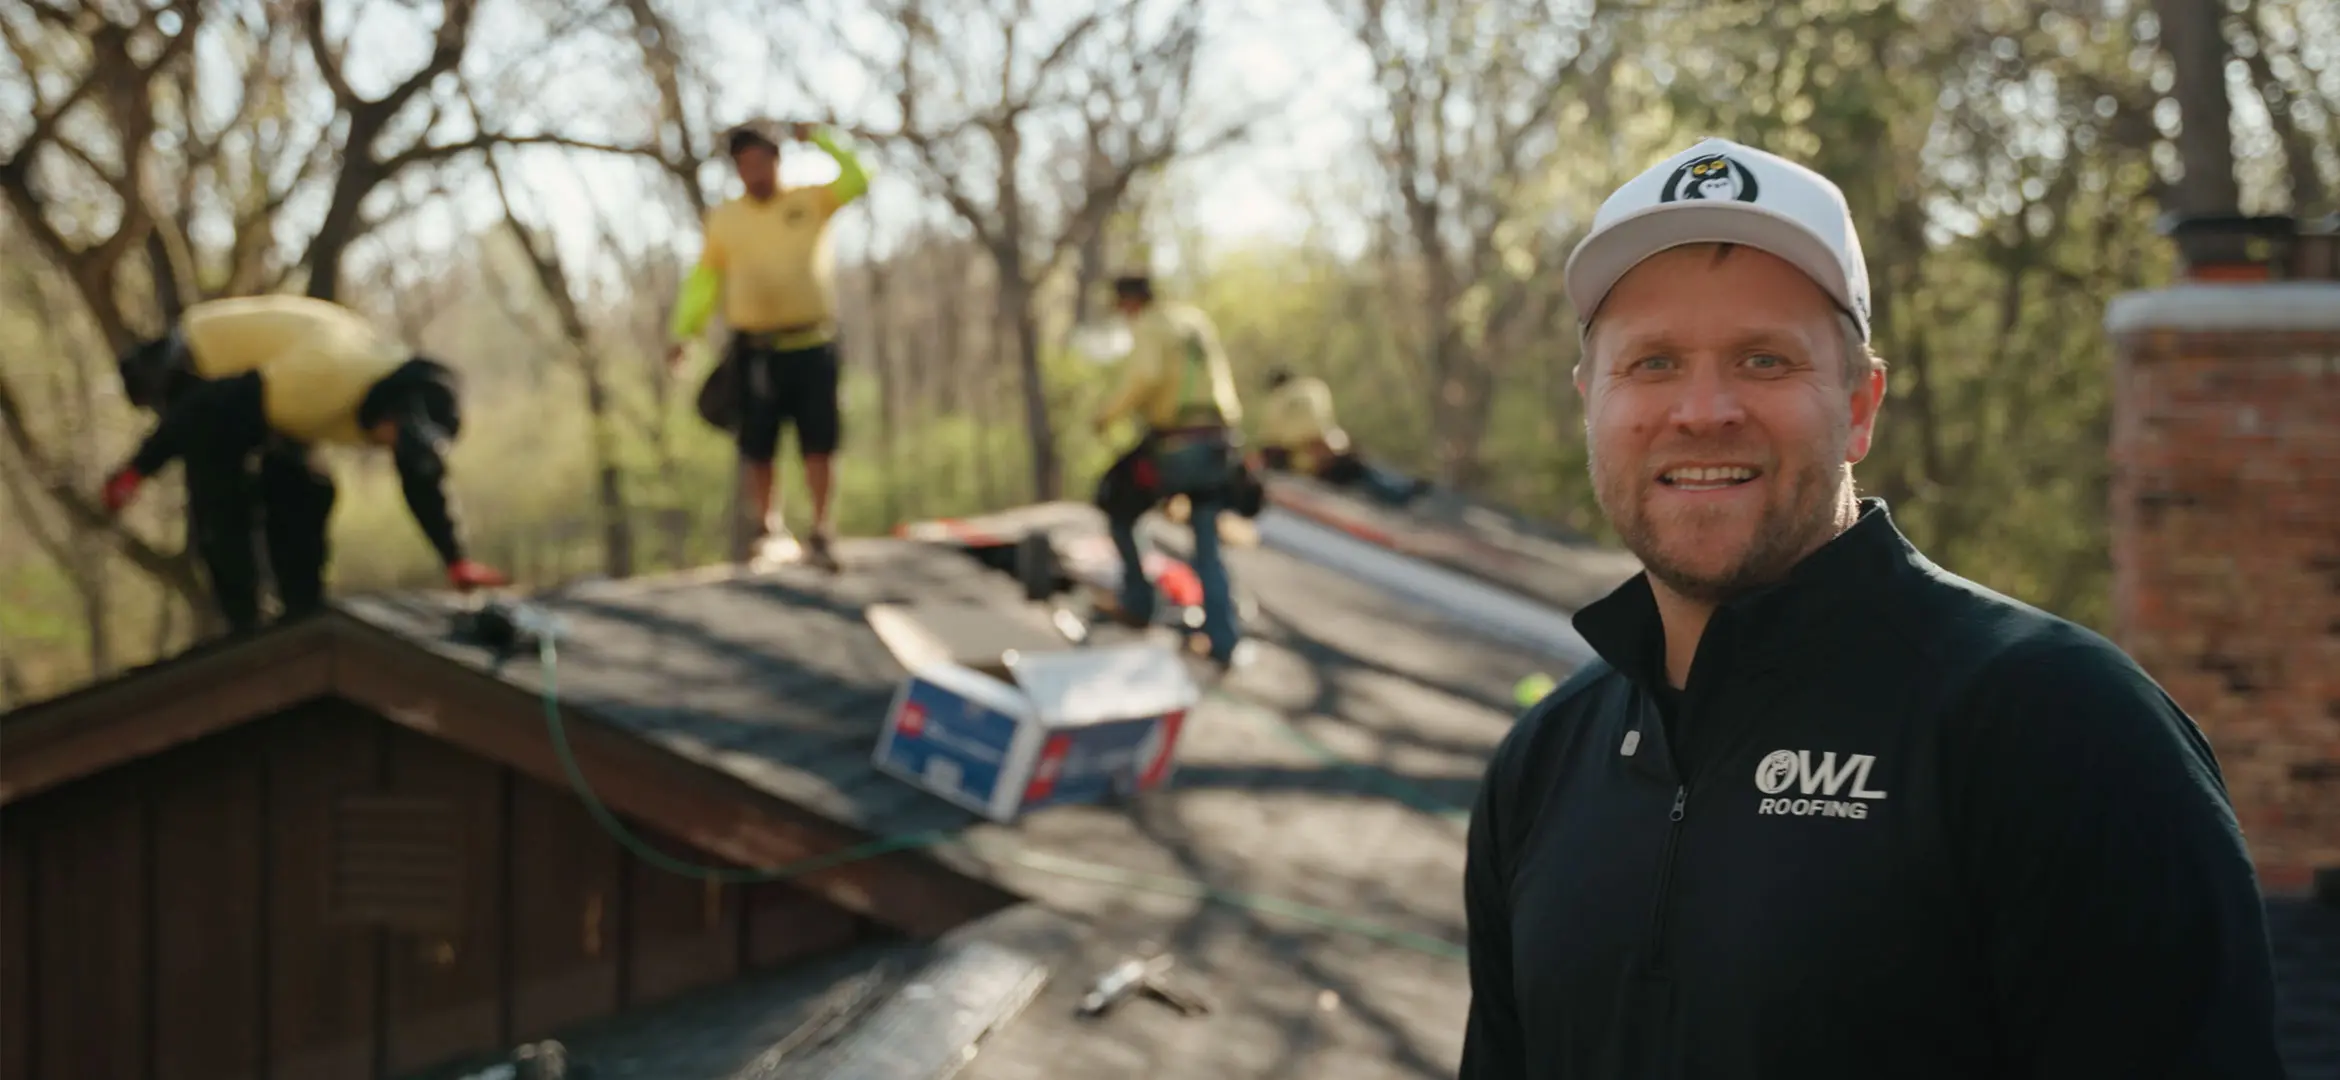
Plan Your Roof Installation With a Trusted Roofing Team
A successful roof installation requires careful planning, quality materials, and professional workmanship. Understanding the process, material options, and project timeline helps homeowners make informed decisions before starting a roofing project.
At Owl Roofing, we help homeowners throughout North Oaks and surrounding areas navigate every stage of the roof installation process. Our team focuses on detailed inspections, reliable materials, and expert installation techniques designed to withstand Minnesota’s challenging weather conditions.
If you are planning a roof installation or want expert guidance on the best roofing materials for your home, contact Owl Roofing today to schedule a free roof inspection. Our team will help you plan your project and ensure your new roof protects your home for years to come.
📍 Owl Roofing Serves the Entire Twin Cities Metro
Andover · Anoka · Apple Valley · Arden Hills · Big Lake · Blaine · Bloomington · Brooklyn Center · Brooklyn Park · Burnsville · Champlin · Chanhassen · Chaska · Columbia Heights · Coon Rapids · Cottage Grove · Crystal · deephaven · Delano · Eagan · East Bethel · Eden Prairie · Excelsior · Farmington · Forest Lake · Fridley · Golden Valley · Ham Lake · Hastings · Hopkins · Hugo · Inver Grove Heights · Lake Elmo · Lakeville · Lino Lakes · Mahtomedi · Maplewood · Mendota Heights · Minneapolis · Minnetrista · Mound · Mounds View · New Brighton · New Hope · North Oaks · North St. Paul · Oak Grove · Oakdale · Plymouth · Prior Lake · Ramsey · Richfield · Robbinsdale · Rosemount · Roseville · Saint Paul · Savage · Shakopee · Shoreview · South St. Paul · St. Louis Park · St. Michael · St. Paul · Stillwater · Vadnais Heights · Victoria · Waconia · wayzata · West St. Paul · White Bear Lake · woodbury
Licensed Minnesota roofing contractor · Free inspections · 10-year workmanship warranty · Get a free estimate →
Recent Articles
Explore The Blog