




What Documents You Need for a Roof Insurance Claim
 11min Read
 Posted 12.05.2025
What Documents You Need for a Roof Insurance Claim
Here’s the truth: most roof insurance claims get delayed or underpaid because homeowners don’t have the right paperwork ready. Not because the damage wasn’t real. Not because the insurance company is out to get you. Simply because the documentation was incomplete, blurry, or missing entirely.
If you’re a Twin Cities homeowner staring at storm damage or a leak that won’t quit, the documents you gather in the next few days will determine whether your claim gets approved quickly—or drags on for months. This guide breaks down exactly what you need, how to get it, and the mistakes that trip up even the most organized homeowners.
The Five Documents That Make or Break Your Claim
Let’s cut straight to it. Your insurance adjuster needs five core pieces of documentation to process your roof claim. Miss one, and you’re looking at delays. Miss several, and you might be footing a repair bill that should’ve been covered.
1. Your Insurance Policy (Yes, Actually Read It)
Before you photograph a single shingle, dig out your homeowner’s insurance policy. You need to know:
- Your deductible amount (this affects whether filing makes financial sense)
- What’s covered vs. excluded (some policies exclude cosmetic damage or have age limitations)
- Time limits for filing (many policies require claims within 12-24 months of damage)
- Whether you have Actual Cash Value (ACV) or Replacement Cost Value (RCV) coverage
That last point matters a lot. ACV policies factor in depreciation—so a 15-year-old roof might only get you pennies on the dollar. RCV policies cover the full replacement cost. Know which one you have before you file.
2. A Detailed Damage Report
This is your written account of what happened. Include:
- The date and approximate time the damage occurred
- What caused it (hail, wind, fallen tree, ice dam)
- A description of the visible damage—exterior and interior
- Any immediate actions you took (tarping, emergency repairs)
Be specific. “Roof damaged in storm” won’t cut it. “Baseball-sized hail on June 15th at approximately 4 PM caused visible dents on north-facing shingles and cracked three skylights” gives your adjuster something to work with.
3. Photographic Evidence (The Right Way)
Photos are the backbone of any roof claim. According to North American Roofing data, claims with solid photographic evidence are processed 25% faster than those without. But not just any photos—your insurance company needs:
- Wide shots showing the overall roof and property
- Close-ups of specific damage (dented shingles, missing flashing, cracked vents)
- Interior damage like water stains, ceiling bubbles, or wet insulation
- Timestamps on every image (most smartphone cameras do this automatically)
- Photos of any debris that caused damage (hailstones next to a ruler, fallen branches)
A quick tip: take more photos than you think you need. You can always delete extras later, but you can’t go back in time to capture damage that’s been repaired or weathered away.
4. Professional Repair Estimates
The National Roofing Contractors Association (NRCA) recommends getting at least three estimates from reputable contractors. This isn’t just about finding the best price—it protects you from lowball assessments and shows your insurance company you’ve done your homework.
Each estimate should include:
- A detailed scope of work (not just “replace roof”)
- Material specifications and quantities
- Labor costs broken down by task
- The contractor’s license number and insurance information
- A timeline for completion
If your contractor spots damage the adjuster missed—like rotted decking under the shingles or compromised flashing—make sure that’s documented separately. Hidden damage is still damage, and you deserve coverage for all of it.
5. Receipts for Emergency Repairs
Did you buy a tarp to cover an exposed section? Hire someone to board up a hole? Pay for a temporary patch to stop water intrusion? Keep every receipt.
Most insurance policies actually require you to prevent further damage—and they’ll reimburse reasonable emergency expenses. But “reasonable” means you need documentation. A handwritten note that says “paid guy $200 for tarp” won’t fly. Get itemized receipts with dates, descriptions, and vendor information.
Why Documentation Matters More Than You Think
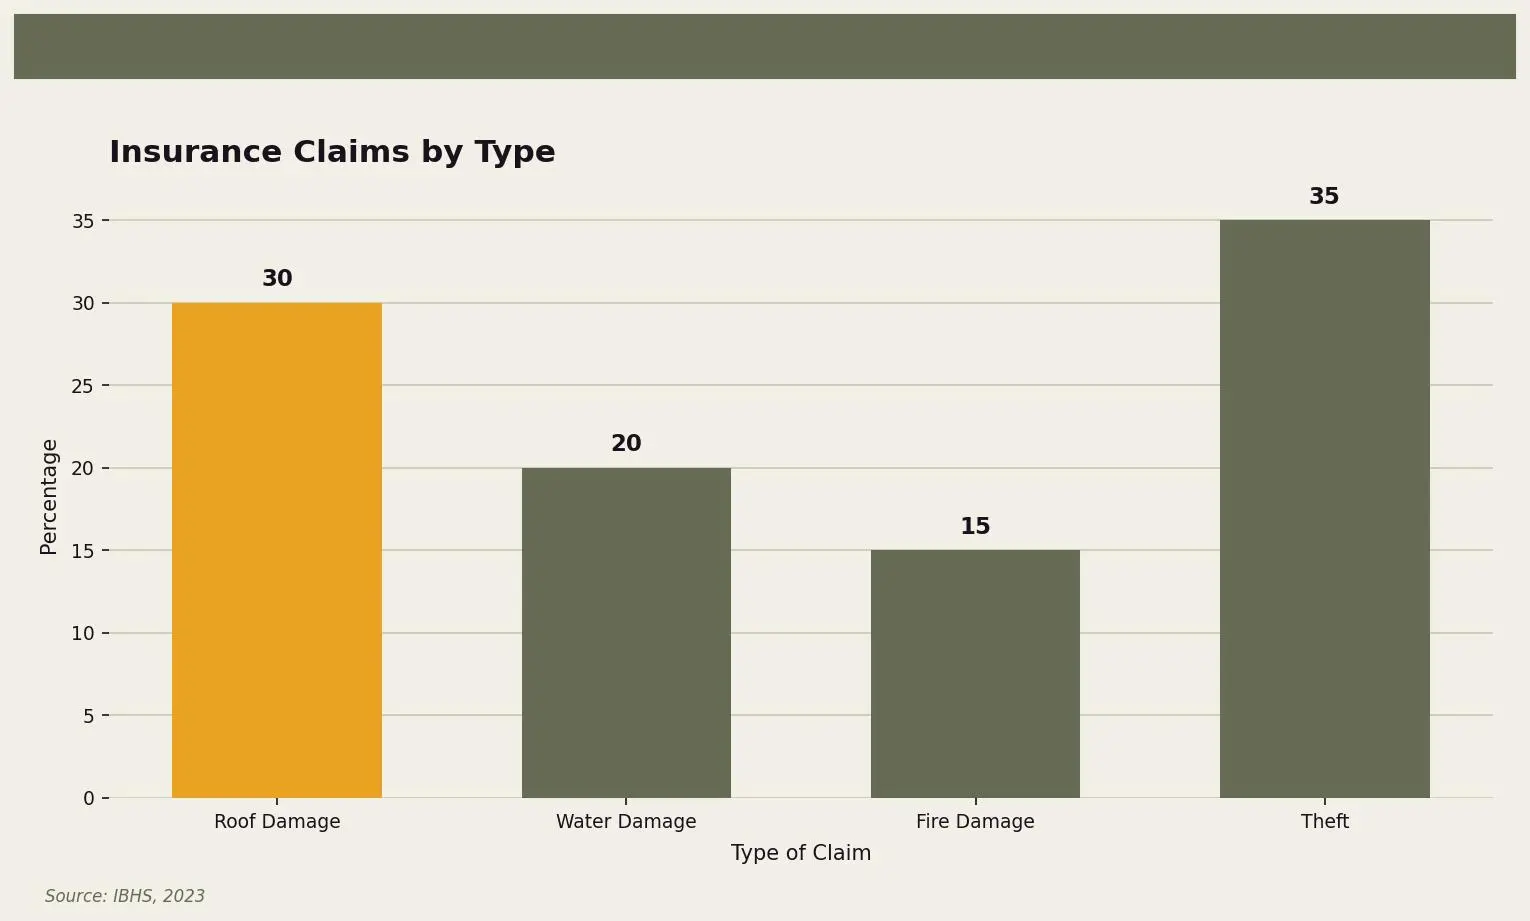
Here’s a stat that might surprise you: roof damage accounts for nearly 30% of all homeowner insurance claims nationwide, according to the Insurance Institute for Business & Home Safety (IBHS). That’s the single largest category. Insurance companies process thousands of these claims every year—and the ones with complete, organized documentation move to the front of the line.
Without proper paperwork, you’re not just risking delays. You’re risking:
- Claim denial for “insufficient evidence”
- Underpayment because damage wasn’t fully documented
- Out-of-pocket costs for repairs that should’ve been covered
- Months of back-and-forth with adjusters and contractors
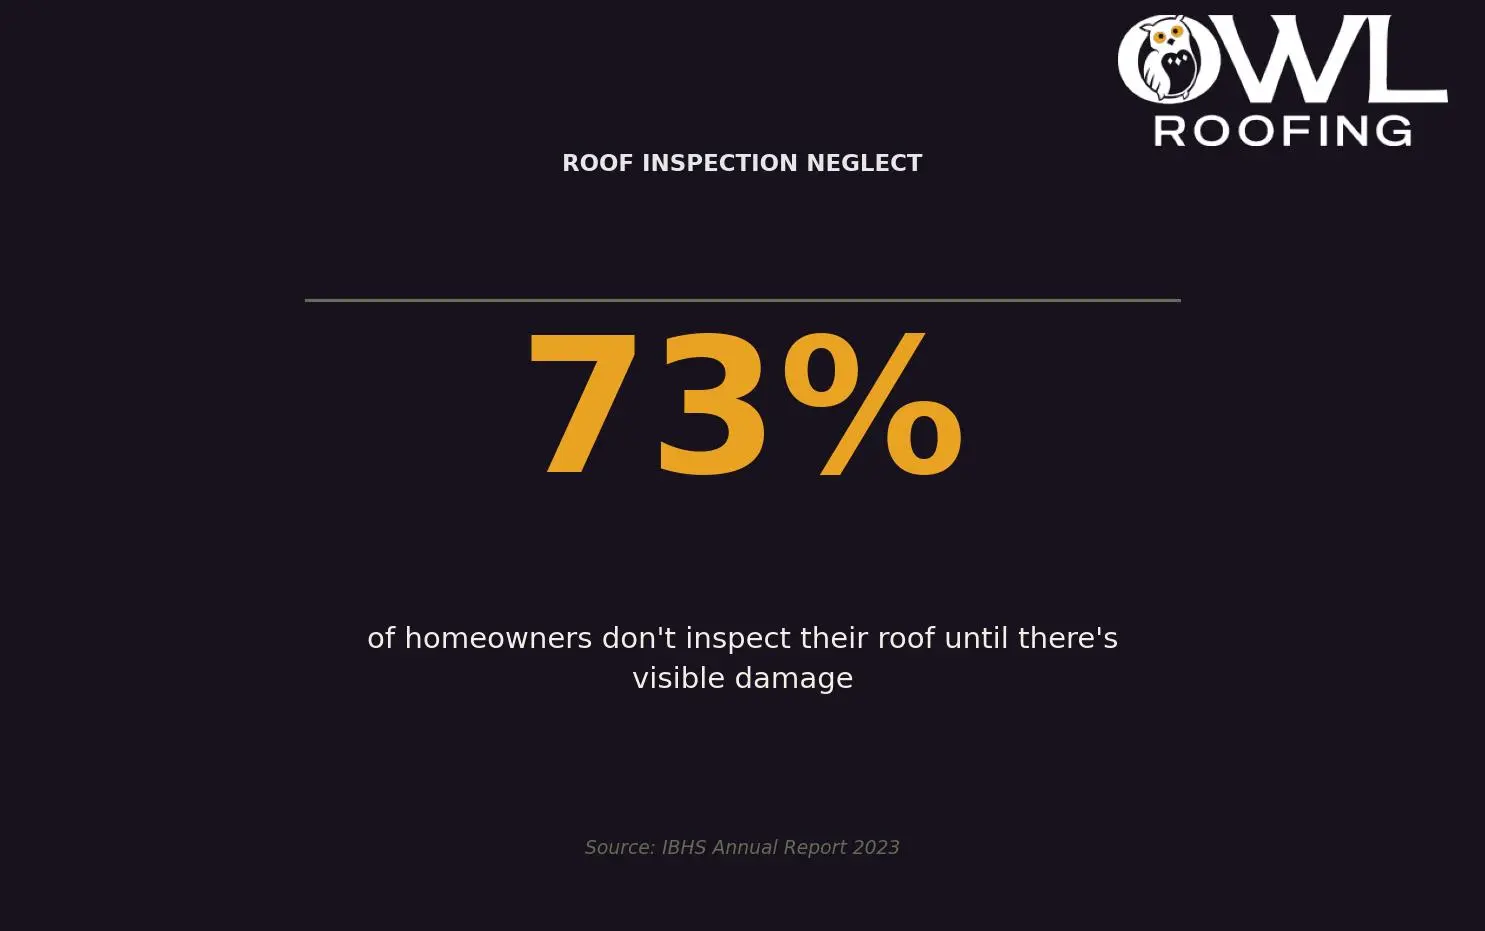
The IBHS also reports that 73% of homeowners don’t inspect their roof until there’s visible damage. By then, you might be scrambling to prove when the damage actually occurred—and whether it’s covered under your policy’s timeline.
What Different Insurance Companies Require
Not all insurers play by the same rules. The Insurance Information Institute (III) advises homeowners to check with their specific provider before submitting anything, because requirements vary.
Some differences you might encounter:
- Digital vs. physical copies: Most modern insurers accept emailed photos and PDFs, but some still want mailed hard copies
- Weather reports: For storm-related claims, some companies require official weather data from the National Weather Service to corroborate your timeline
- Professional inspections: Certain policies require a licensed inspector’s report, not just contractor estimates
- Proof of maintenance: If your roof is older, you might need to show records of past repairs or inspections to prove you weren’t negligent
Call your insurance company before you file. Ask exactly what they need, in what format, and by when. Get the representative’s name and note the date and time of the call. This small step can save you weeks of frustration.
Mistakes That Derail Twin Cities Roof Claims
We’ve seen homeowners make the same errors over and over. Here’s what to avoid:
Incomplete or Blurry Photos
A distant shot of your roofline doesn’t prove anything. Neither does a blurry close-up that could be mistaken for abstract art. Take your time, use good lighting, and make sure each photo clearly shows what you’re documenting.
Waiting Too Long to File
Minnesota weather doesn’t wait, and neither should you. The freeze-thaw cycle can turn minor damage into major structural problems within weeks. A small leak in October becomes ice dam central by January. File promptly—most policies have strict deadlines.
Throwing Away Damaged Materials
That hail-dented vent cap? The shingle that blew off? Keep them until your claim is settled. Physical evidence supports your documentation, and adjusters sometimes want to see the actual damaged materials.
Not Tracking Communication
Every phone call, email, and letter with your insurance company should be logged. Note the date, who you spoke with, and what was discussed. If your claim gets disputed, this paper trail is your best friend.
Accepting the First Offer Without Question
Insurance adjusters are professionals, but they’re also human—and they’re working from whatever documentation you provide. If their assessment seems low, you can request a re-inspection or provide additional evidence. Don’t assume the first number is final.
Minnesota’s Unique Weather Challenges
Filing a roof claim in the Twin Cities isn’t quite like filing one in Arizona or Florida. Our climate creates specific documentation needs that out-of-state insurance reps might not fully appreciate.
Consider what Minnesota throws at your roof:
- Heavy snow loads: The Twin Cities average 60 inches of snowfall annually, according to the National Weather Service. That weight stresses roofing materials and can cause sagging or structural issues.
- Ice dams: When heat escapes through your attic, it melts snow that refreezes at the eaves—forcing water under shingles and into your home.
- Freeze-thaw cycles: Repeated freezing and thawing causes shingles to crack, flashing to separate, and small gaps to become big problems.
- Severe summer storms: Hail, wind, and lightning damage spike from May through August.
The Minnesota Department of Commerce recommends regular roof inspections, especially after significant weather events. If you’ve had your roof professionally inspected in the past, include those reports in your claim documentation—they establish a baseline and show you’ve been a responsible homeowner.
Your Step-by-Step Action Plan
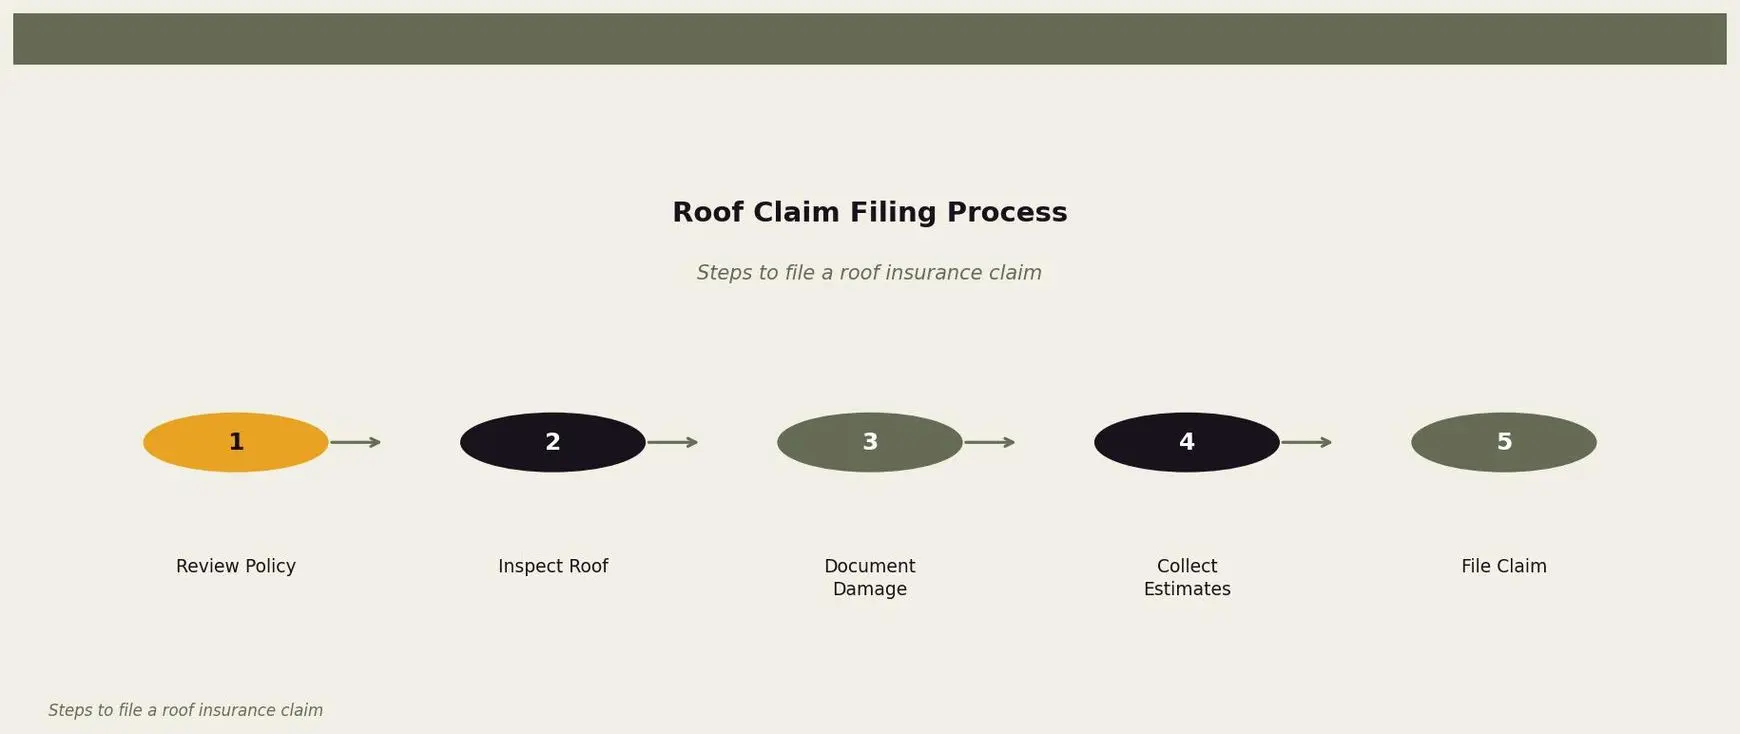
Here’s exactly what to do when you need to file a roof insurance claim:
- Secure your property: If there’s active damage (a hole, missing sections, ongoing leak), take immediate steps to prevent further harm. Tarp it, cover it, do what you can safely do—and document everything.
- Review your policy: Before you call anyone, understand your coverage limits, deductible, and filing deadlines.
- Document everything: Photos, videos, written descriptions. Date and timestamp it all. Photograph damaged materials before disposing of them.
- Get professional estimates: Contact at least three licensed, insured roofing contractors for detailed repair assessments.
- File your claim: Call your insurance company, provide your documentation, and ask about their specific requirements and timeline.
- Track all communication: Log every interaction with your insurer, including dates, names, and discussion points.
- Attend the adjuster visit: Be present when the insurance adjuster inspects your roof. Point out damage they might miss and provide copies of your documentation.
- Review the settlement offer: Compare it to your contractor estimates. If it seems low, ask questions and provide additional evidence if needed.
When You Need a Local Expert
If you’re feeling overwhelmed—or if you just want someone who’s been through this process hundreds of times—it helps to work with a roofing company that understands both Minnesota weather and insurance documentation.
At Owl Roofing, we’ve helped Shoreview and Twin Cities homeowners navigate roof claims for years. We know what adjusters look for, what documentation makes claims move faster, and how to spot damage that’s easy to miss. We’re not storm chasers passing through town—we’re your neighbors, founded by Tim & Bea Brown and Noah & Anya Bergland, with over 15 years of combined experience working on local roofs.
If your roof took a hit and you’re not sure where to start, give us a call at 651-977-6027 or visit owlroofing.com/. We’ll take a look, tell you exactly what you’re dealing with, and help you get the documentation right the first time. No pressure, no runaround—just straight answers from people who live here too.
Protect Your Nest.
📍 Owl Roofing Serves the Entire Twin Cities Metro
Andover · Anoka · Apple Valley · Arden Hills · Big Lake · Blaine · Bloomington · Brooklyn Center · Brooklyn Park · Burnsville · Champlin · Chanhassen · Chaska · Columbia Heights · Coon Rapids · Cottage Grove · Crystal · deephaven · Delano · Eagan · East Bethel · Eden Prairie · Excelsior · Farmington · Forest Lake · Fridley · Golden Valley · Ham Lake · Hastings · Hopkins · Hugo · Inver Grove Heights · Lake Elmo · Lakeville · Lino Lakes · Mahtomedi · Maplewood · Mendota Heights · Minneapolis · Minnetrista · Mound · Mounds View · New Brighton · New Hope · North Oaks · North St. Paul · Oak Grove · Oakdale · Plymouth · Prior Lake · Ramsey · Richfield · Robbinsdale · Rosemount · Roseville · Saint Paul · Savage · Shakopee · Shoreview · South St. Paul · St. Louis Park · St. Michael · St. Paul · Stillwater · Vadnais Heights · Victoria · Waconia · wayzata · West St. Paul · White Bear Lake · woodbury
Licensed Minnesota roofing contractor · Free inspections · 10-year workmanship warranty · Get a free estimate →
