


What Happens After Your Roof Is Finished
 12min Read
 Posted 1.26.2026
What Happens After Your Roof Is Finished
The crew just pulled out of your driveway. Your new roof looks great. But now you’re standing in your yard thinking, “Wait… what am I supposed to do now?” You’re not alone—it’s one of the most common questions Twin Cities homeowners ask us. And honestly? What you do in the next few days and weeks matters almost as much as the installation itself.
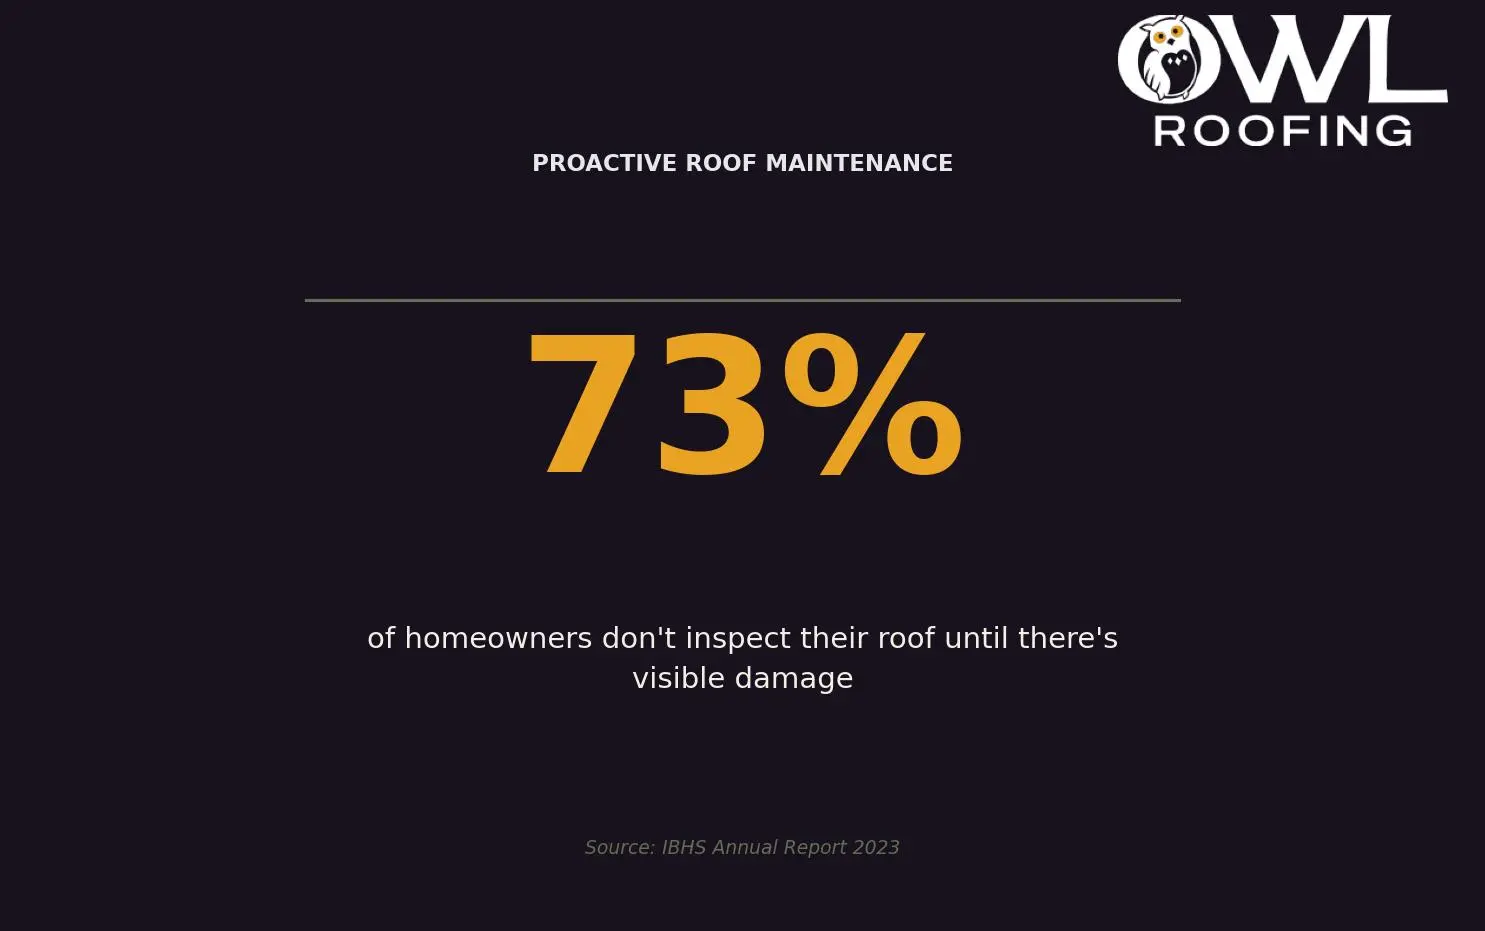
Here’s the thing: 73% of homeowners don’t think about their roof again until something goes wrong. Water stains on the ceiling. Missing shingles after a storm. A call from a neighbor saying, “Hey, something looks off up there.” By then, you’re looking at repairs that could’ve been prevented. The good news? A little attention right now sets you up for decades of “I don’t have to think about my roof” peace of mind.
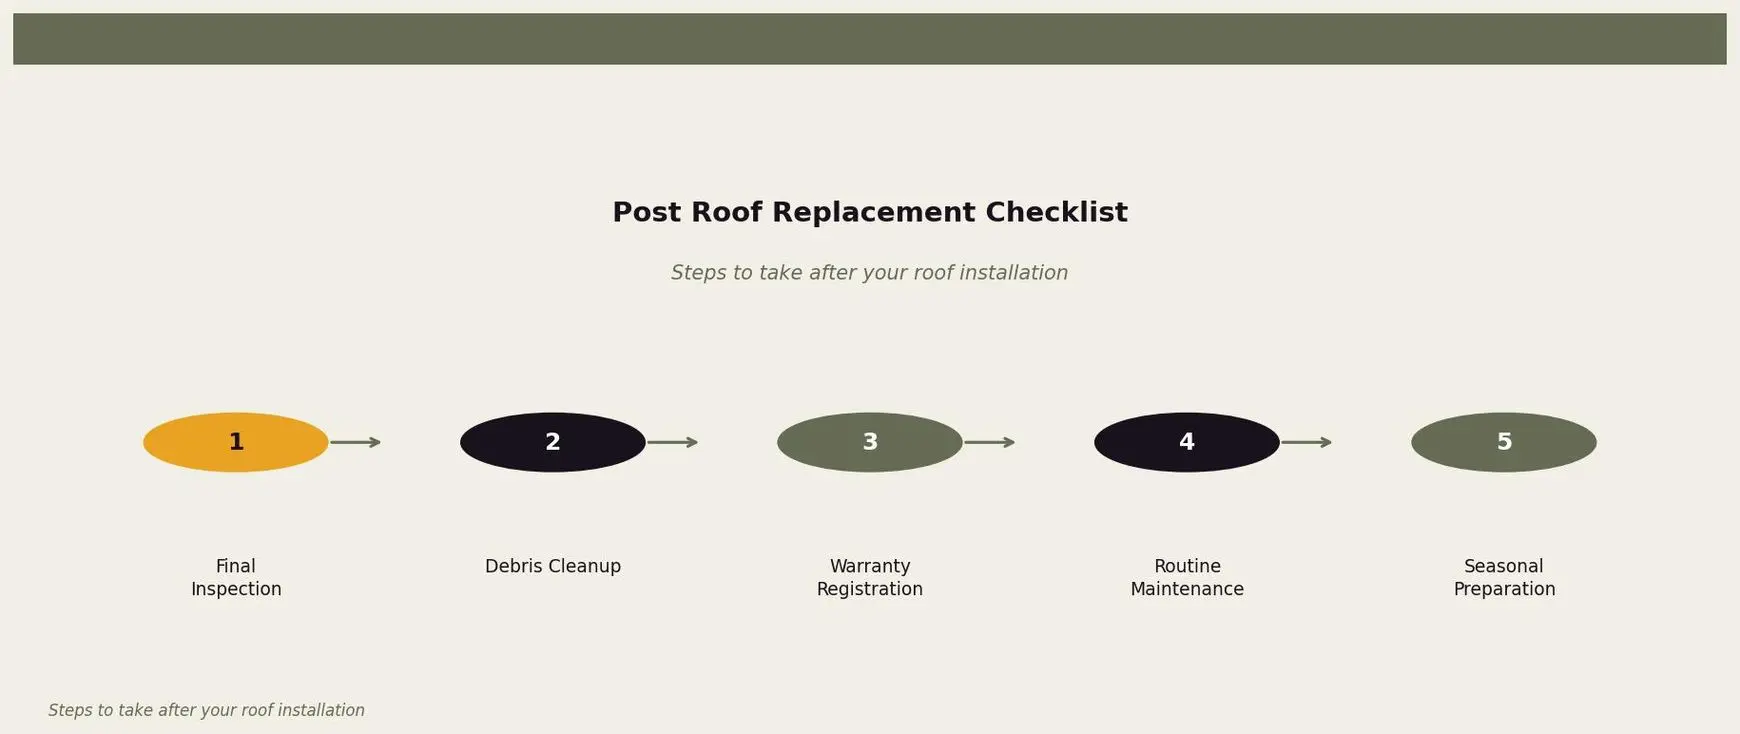
Let’s walk through exactly what happens after roof replacement—the stuff your contractor should do, the stuff you should do, and how to make sure your investment actually lasts as long as it should.
Why the First Few Weeks Matter So Much
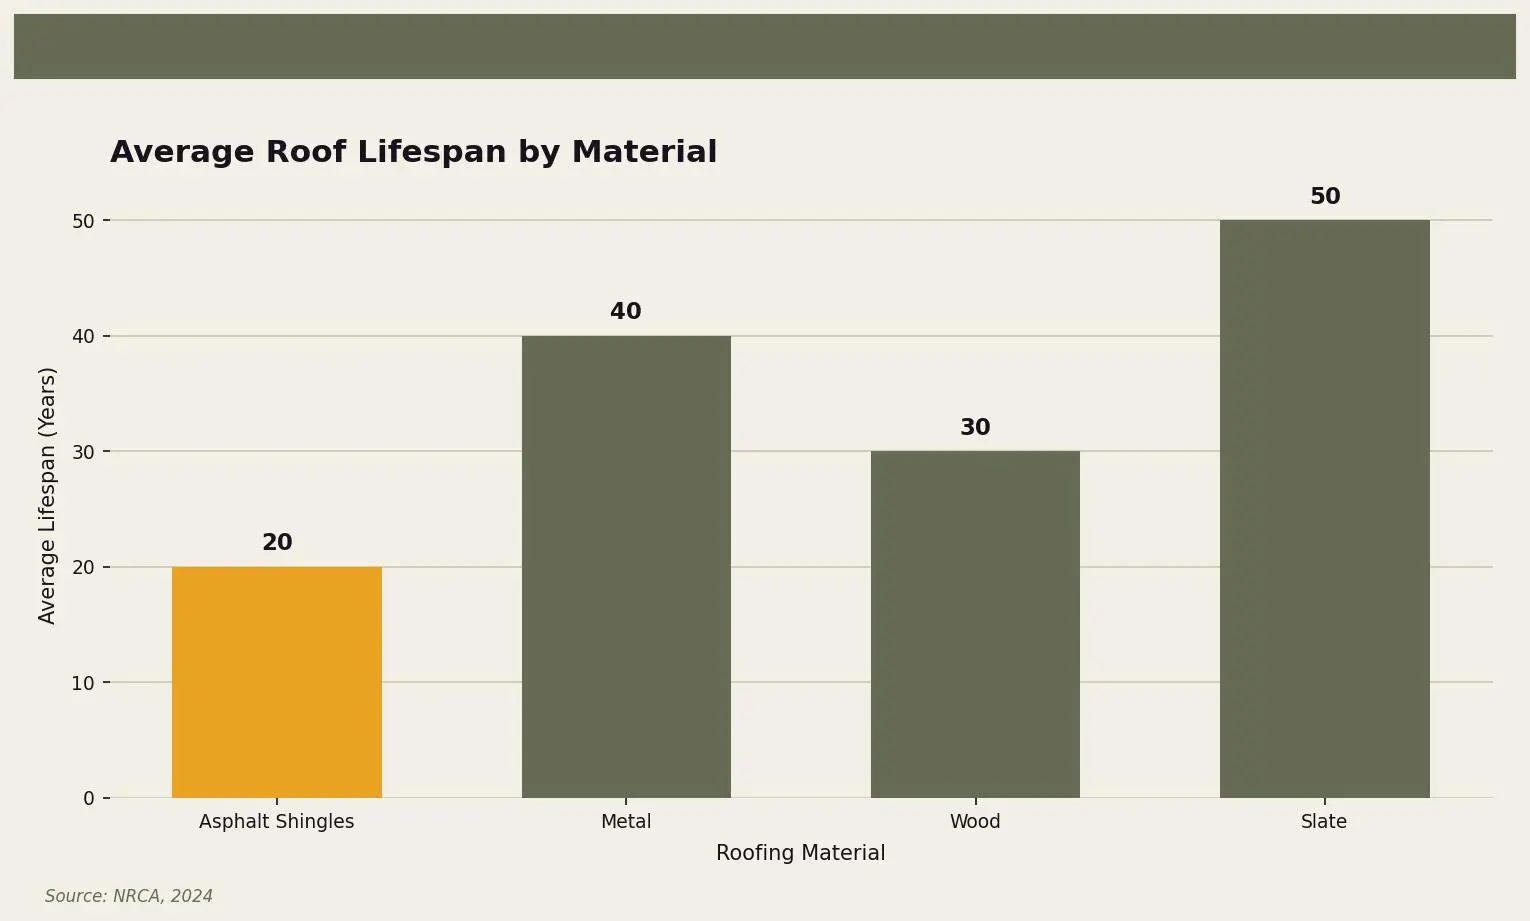
A new roof isn’t just a cosmetic upgrade. It’s the primary shield between your family and everything Minnesota weather throws at you—and we throw a lot. According to the National Roofing Contractors Association (NRCA), a professionally installed roof can last 20-30 years with proper materials and maintenance. Some materials, like metal or slate, can push 40-50 years.
But here’s the catch: “can last” and “will last” are two very different things.
The Insurance Institute for Business & Home Safety (IBHS) reports that nearly three-quarters of homeowners skip roof inspections entirely until visible damage appears. That’s like never changing your oil and wondering why your engine seized. The first weeks after installation are your chance to verify everything was done right, document your warranty coverage, and establish habits that protect your investment for the long haul.
Think of it this way: you just spent thousands of dollars on your roof. A few hours of attention now could save you thousands more down the road—and a lot of headaches when the next big storm rolls through.
The Final Walkthrough: Don’t Skip This
What a Good Contractor Will Show You
Before your roofing crew leaves for good, you should do a final walkthrough together. This isn’t a formality or a chance for them to rush you through a handshake. It’s your opportunity to see exactly what was done and ask questions while everyone’s still on-site.
A quality contractor will walk you through:
- Shingle installation: Are they lying flat? Are the patterns consistent? Any edges lifting or looking off?
- Flashing details: These metal pieces around chimneys, vents, and roof edges are where leaks love to start. They should be sealed tight and look clean.
- Ventilation systems: The NRCA emphasizes that proper ventilation prevents moisture buildup in your attic—a big deal in Minnesota where temperature swings are extreme. Your contractor should point out intake and exhaust vents and confirm they’re working as designed.
- Ridge caps and edges: The top ridge and edges of your roof take the most abuse from wind. Make sure these areas look solid.
Don’t be shy about asking questions. “What’s that piece for?” “Is that supposed to look like that?” “What should I watch for over the next few months?” Good contractors appreciate engaged homeowners—it means you care about the work they just did.
Code Compliance Matters (Especially Here)
Minnesota has specific building codes for roofing, and the Twin Cities can have additional local requirements. Your final inspection should confirm that all permits were properly closed and the installation meets code. This isn’t just bureaucratic box-checking—it affects your insurance coverage, your home’s resale value, and whether your warranty is actually valid.
If your contractor pulled permits (which they should have), ask for copies of the inspection sign-off for your records. If they didn’t pull permits? That’s a red flag worth addressing immediately.
Cleanup: What Should (and Shouldn’t) Be Left Behind
Your Yard Should Look Better, Not Worse
Roofing projects are messy. Shingle scraps, packaging, nails, old flashing—it all has to go somewhere during the tear-off. But when the job’s done? Your property should be clean.
Here’s what thorough cleanup looks like:
- Magnetic sweeps: A good crew runs a magnetic roller across your lawn, driveway, and flower beds to catch stray nails. (Trust us, your car tires will thank them.)
- Debris removal: All old materials should be hauled away, not left in a pile “to be picked up later.”
- Gutter clearing: Shingle grit and debris inevitably end up in gutters during installation. These should be cleared before the crew leaves.
- Landscaping check: Plants, bushes, and flower beds near the house should be checked for damage or debris.
The IBHS points out that clogged gutters are a leading cause of water damage—and in Minnesota, where snowmelt and ice dams are already a concern, starting with clean gutters is non-negotiable. If your contractor leaves without clearing them, speak up.
Do Your Own Walk-Around
Even with the best crews, things get missed. After everyone leaves, take 15 minutes to walk your entire property. Check along fence lines, in bushes, around the garage. Look for nails, shingle pieces, or anything that doesn’t belong. It’s much easier to call your contractor back now than to discover a nail in your tire next week.
Warranty Registration: The Step Most People Forget
Two Warranties, Two Different Things
Your new roof likely comes with two separate warranties, and understanding the difference matters:
Manufacturer warranty: This covers defects in the roofing materials themselves—shingles that fail prematurely, for example. Most major manufacturers offer 20-50 year warranties depending on the product line. But here’s the catch: many require registration within a specific timeframe (often 30-60 days) to activate full coverage.
Workmanship warranty: This covers the installation itself—if something was installed incorrectly and causes problems, this is what protects you. This warranty comes from your contractor, not the manufacturer, and terms vary widely. Some companies offer 2 years. Others offer 10 or more. Some offer none at all (another red flag).
The National Association of Realtors (NAR) notes that transferable warranties can actually increase your home’s value when you sell. Buyers love knowing the roof is covered. So keep all warranty documents somewhere safe, and make sure you understand:
- What’s covered and what’s not
- How long coverage lasts
- What voids the warranty (some are voided by improper maintenance or unauthorized repairs)
- How to file a claim if needed
Register Now, Not “Later”
“I’ll do it this weekend” has a way of turning into “I completely forgot.” Set a reminder, grab the paperwork, and knock out warranty registration within the first week. Most manufacturers let you register online in under 10 minutes. Your contractor should provide all the information you need—product codes, installation date, their contractor certification number.
If they don’t? Ask for it. This is your documentation for a major home investment.
Minnesota Weather: Your Roof’s Toughest Test
The Freeze-Thaw Reality
Living in the Twin Cities means your roof faces conditions that roofs in, say, Arizona never have to deal with. Our freeze-thaw cycles are particularly brutal—temperatures swing above and below freezing repeatedly throughout winter and spring, causing materials to expand and contract constantly.
The NRCA specifically advises that in climates like ours, proper insulation and ventilation aren’t optional—they’re essential. Here’s why:
- Poor ventilation traps warm air in your attic, melting snow on your roof from underneath. That melt water runs down to your colder eaves, refreezes, and creates ice dams that can force water under your shingles.
- Inadequate insulation means heat escapes through your ceiling, warming the attic unevenly and contributing to the same problem.
After your roof replacement, take a look at your attic (or have your contractor do it). Is there visible insulation? Does it look evenly distributed? Can you see daylight through any vents? Proper attic conditions extend your roof’s life significantly and prevent the ice dam headaches that plague so many Minnesota homes.
Seasonal Prep Checklist
Your roof just got a fresh start. Keep it that way with seasonal attention:
Fall (before snow flies):
- Clear gutters of leaves and debris
- Trim back any tree branches hanging over or near the roof
- Check flashing around chimneys and vents
Winter (ongoing):
- Watch for ice dam formation at eaves
- After heavy snowfall, check for any areas where snow isn’t melting evenly (a sign of heat loss)
- Never try to remove snow or ice yourself unless you know what you’re doing—improper removal damages shingles
Spring (after thaw):
- Do a ground-level visual inspection for any winter damage
- Check attic for signs of moisture or leaks
- Clear gutters again—winter debris accumulates
Summer:
- After major storms, do a quick visual check for missing or lifted shingles
- Keep an eye out for any debris that lands on the roof
Your Ongoing Maintenance Game Plan
The Twice-a-Year Rule
The IBHS recommends professional roof inspections twice a year—spring and fall. Is that overkill? For most homeowners, probably. But at minimum, you should:
- Do your own visual inspection from the ground each season (binoculars help)
- Schedule a professional inspection every 2-3 years, or after any major storm event
- Address small issues immediately—a lifted shingle fixed today prevents a leak next month
Know What to Watch For
You don’t need to become a roofing expert, but knowing the warning signs helps you catch problems early:
- Shingle granules in gutters: Some granule loss is normal in the first few months. Heavy accumulation later suggests shingle wear.
- Dark streaks or staining: Often algae growth—not immediately damaging but worth monitoring.
- Lifted or missing shingles: Especially after storms with high winds.
- Sagging areas: A sign of potential structural issues that need immediate attention.
- Interior signs: Water stains on ceilings, peeling paint near rooflines, musty smells in the attic.
Keep a Roof File
Create a simple folder (physical or digital) for your roof documentation:
- Contract and final invoice
- Warranty documents (manufacturer and workmanship)
- Permit and inspection records
- Photos from completion
- Records of any maintenance or repairs
This file becomes invaluable if you ever need to file a warranty claim, make an insurance claim, or sell your home.
When to Call a Professional
Some roof issues are DIY-friendly (clearing debris off the surface, keeping gutters clean). Others absolutely require a professional:
- Any suspected leak—even a small one
- Storm damage assessment
- Shingle repairs or replacements
- Anything involving flashing, vents, or roof penetrations
- Ice dam removal (improper removal causes more damage than the ice itself)
Having a trusted local contractor you can call makes all the difference. Storm chasers and out-of-state companies won’t be around when you need follow-up service. Your neighbor down the street who’s been doing this for years? They will be.
Let Owl Roofing Help You Protect Your Investment
If you’re in the Twin Cities and want a roofing team that actually sticks around after the job’s done, that’s exactly what we do at Owl Roofing. We’re based right here in Shoreview—Tim and Bea Brown, Noah and Anya Bergland, and a crew of people who live in the same neighborhoods we serve. We’ve seen what Minnesota weather does to roofs, and we’ve helped homeowners through every step of the process: from “I think I need a new roof” to “what do I do now that it’s done?”
Whether you just finished a project with another contractor and have questions, or you’re thinking ahead to your next roof, we’re happy to talk. No pressure, no sales pitch—just straight answers from people who actually care about doing this right.
Give us a call at 651-977-6027 or visit owlroofing.com/. We’re your neighbors, and we’re here to help.
Protect Your Nest.
📍 Owl Roofing Serves the Entire Twin Cities Metro
Andover · Anoka · Apple Valley · Arden Hills · Big Lake · Blaine · Bloomington · Brooklyn Center · Brooklyn Park · Burnsville · Champlin · Chanhassen · Chaska · Columbia Heights · Coon Rapids · Cottage Grove · Crystal · deephaven · Delano · Eagan · East Bethel · Eden Prairie · Excelsior · Farmington · Forest Lake · Fridley · Golden Valley · Ham Lake · Hastings · Hopkins · Hugo · Inver Grove Heights · Lake Elmo · Lakeville · Lino Lakes · Mahtomedi · Maplewood · Mendota Heights · Minneapolis · Minnetrista · Mound · Mounds View · New Brighton · New Hope · North Oaks · North St. Paul · Oak Grove · Oakdale · Plymouth · Prior Lake · Ramsey · Richfield · Robbinsdale · Rosemount · Roseville · Saint Paul · Savage · Shakopee · Shoreview · South St. Paul · St. Louis Park · St. Michael · St. Paul · Stillwater · Vadnais Heights · Victoria · Waconia · wayzata · West St. Paul · White Bear Lake · woodbury
Licensed Minnesota roofing contractor · Free inspections · 10-year workmanship warranty · Get a free estimate →
